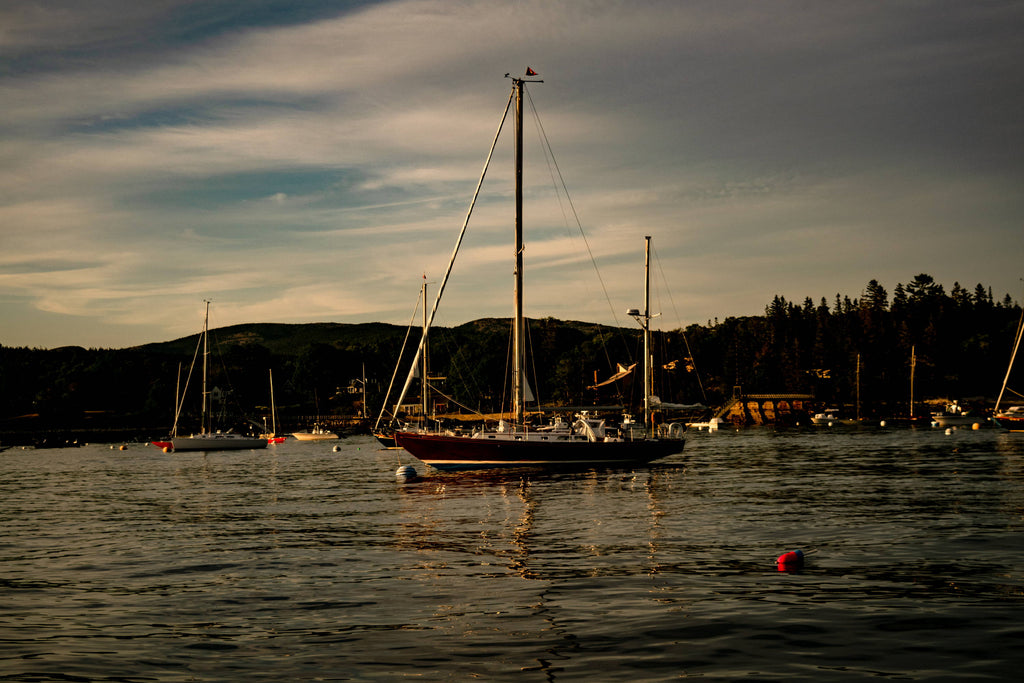
Travel Photography 101: How to Take the Best Vacation Photos

By Morgan Bernard
Travel inspires us, so we seek to capture that inspiration, share it, and take it home. Photography allows us to do just that. Whether you’re road-tripping for the weekend or sailing around the world, you’ll want to be able to capture the moment when it matters. Next time you’re standing atop a stunning, windswept vista or you’re looking out to sea during a water-colored sunset, make sure you have the tools to create an image worthy of the view. Whether you’re a seasoned digital nomad, a weekend traveler, or something in between, everyone wants to take better travel photos. You don’t have to be a professional photographer to capture great travel photos. In fact, you don’t even need a camera. All you need is your phone. So, whether you’re shooting on your smartphone, a point-and-shoot, or a full-frame camera, you have the ability to take stunning travel photos that will leave your friends green with envy. If you want to find out how you can improve your personal travel photography and take better vacation photos, continue below for Travel Photography 101: How to Take the Best Vacation Photos.
Abide by the Rule of Thirds
Regardless of what photography system you’re shooting with, the rule of thirds should be applied. The Rule of Thirds is an essential rule of composition that dictates that your subject should occupy one-third of the given frame. To implement the Rule of Thirds in your travel photography, imagine that the area in-frame is divided into thirds both horizontally and vertically. The resulting mental image should have two parallel lines running up and down and two similar parallel lines running across the frame. These sets of lines divide the frame into thirds, both vertically and horizontally. When shooting a subject, be it a person, a landmark, or anything else, have the subject occupy one of these given thirds.
When shooting portraits, fill the frame
Travel photography is not all waterfalls and architecture. Sometimes you shoot your friends, family, strangers, and occasionally, yourself. When shooting portrait photography, it is good practice to fill the frame with your subject. This ensures your subject is the center focus of the image. If you’re shooting on a camera, shoot in manual mode with a low aperture to shorten your focal length and create a blurred background.
Consider the time of day
When you’re traveling, there’s a reason you see flurries of travelers welding cameras during the late hours of the afternoon— this is the golden hour, the best time of day for travel photography. During midday when the sun is high in the sky, lighting is typically too harsh for excellent photography. That doesn’t mean people don’t shoot during the sunniest hours of the day, but the images they capture often end up over-exposed unless they’re shooting with a filter. The best time to shoot is often referred to as “golden hour.” Golden hour falls an hour or so before sunset or an hour or so after sunrise. Golden hour provides soft lighting that’s flattering to your subjects and won’t look overexposed on camera. Additionally, as dusk sets in, “blue hour” also presents unique portrait opportunities. With just enough light in the sky, blue hour allows you to shoot with a slow shutter speed and low aperture to capture sharp portraits in low light.
Lighting matters
Beyond the time of day, lighting matters in travel photography. Where you position yourself and your subject in relation to the light will have a profound impact on the outcome of your photo. If you want a sharper image, place the lighting behind you the photographer. This means if the sun is setting in the west and you’re shooting a portrait, place your subject to the east with the sun lighting your subject from behind you as you shoot. If you want your subject to be silhouetted, shoot with your subject backlit by the sun.
Use the right shutter speed for the situation
If you’re shooting motion, be it a surfer, skier, or wild animal, you’ll want to crank up your shutter speed. A high shutter speed will ensure you capture detail when a subject is in motion. Conversely, a low shutter speed will let more light in and allow you to shoot static subjects at low light. If you want to take your travel photography to the next level, play with your shutter speed to add a bit of motion blur to a photo. In soft lighting, a slow shutter speed can create motion blur in running water.
Create a sense of depth
Adding a sense of depth to your photos will take your travel photography to new heights. You don’t need a fancy camera to add a sense of depth to your photos. Adding depth is as simple as capturing objects in the foreground of your image. Shooting horizontally on a phone or with a wide-angle lens on a camera will also help add to the illusion of depth in your travel photography.
You don’t have to be a professional photographer to take your travel photography to the next level. Follow our tips on your next adventure to create stunning photos that will do your trip justice. Be on the lookout for more exciting travel content from Farm Brand.

Leave a comment